

5 Tips for a Clean Audiobook Recording
Eliminate Background Noise and Elevate Your Audio Quality.
5 Tips for a Clean Audiobook Recording
After editing hundreds of hours of audiobook narration, I've seen it all—from pristine recordings that practically master themselves to files that make me reach for the industrial-strength noise reduction. Here are my top tips for giving your narration the best possible start.
1. Treat Your Recording Space
Room echo is the primary enemy of intimate narration. To achieve professional results, you don't need a high-end studio; a closet full of clothes serves as a remarkably effective recording booth. The secret lies in surrounding your microphone with soft, absorptive surfaces.
- Pro Tip: Hang moving blankets on mic stands around your recording position to immediately dampen sound. It might not be pretty, but it ensures pristine audio quality.
2. Get Close to the Mic (But Not Too Close)
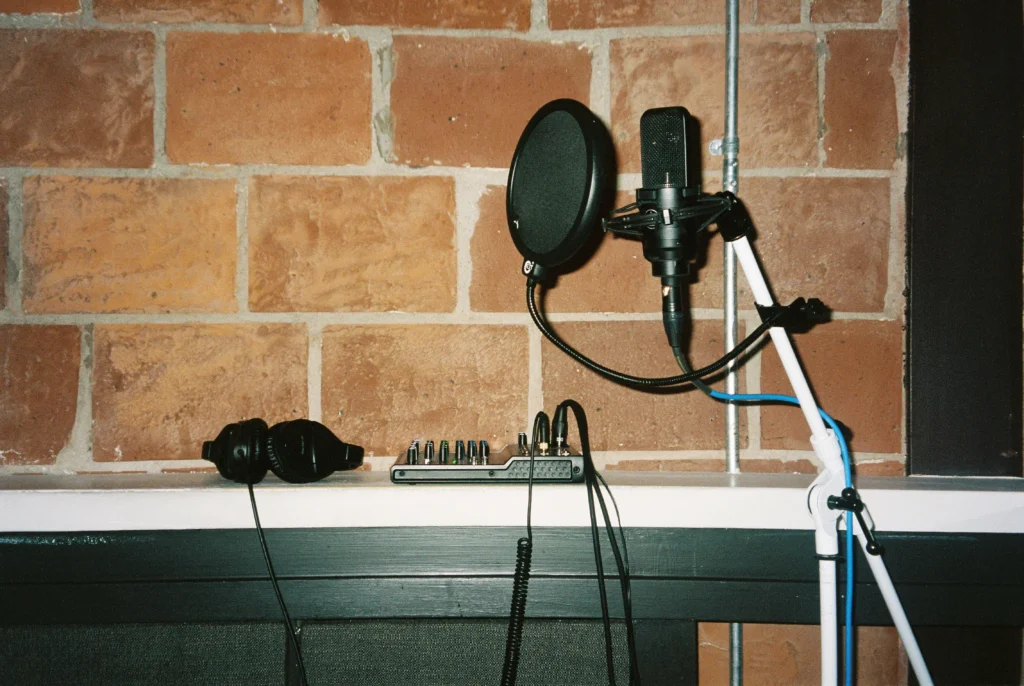
Achieving professional audio starts with distance. For most condenser microphones, the ideal placement is 6-8 inches from your mouth. This range ensures a balance between vocal clarity and ambient noise control.
The Consequences:
* Too Far: You risk picking up unwanted room reflections and ambient noise.
*Too Close: You will experience harsh 'plosives' (popping sounds) and an muddy, excessive proximity effect.
- Pro Tip: The Hang-Ten Rule: A quick way to measure 6-8 inches is the distance from your thumb to your pinky with an outstretched hand..

3. Stay Hydrated
Mouth noise and clicks are often the most time-consuming challenges during the editing phase. The most effective cure is consistent hydration. Keep water nearby and sip regularly to maintain a moist palate, particularly after consuming coffee, which can lead to dryness and increased friction.
- The Secret Weapon: > Pro Tip: Keep a few green apple slices in your booth. The malic acid in the apple acts as a natural cleanser, significantly reducing mouth clicks and keeping your audio crisp.

4. Consistent Positioning
Audiobook production often spans multiple days or weeks. If you need to stop and restart a session, returning to the exact same physical position is more critical for audio matching than many narrators realize. Even a slight shift in posture or distance can alter the tonal quality of your voice, creating 'seams' that are difficult to hide in post-production.
- * Mark Your Mic: Use a small piece of tape to indicate the exact angle and height of your microphone.
5. Record Room Tone
Consistency in your audio environment doesn't just apply to your voice; it applies to the 'silence' of the room as well. Always record 30-60 seconds of pure silence in your recording space before you begin your session.
Why it Matters:
This 'room tone' is vital for the editing process. It allows your editor to fill gaps between sentences or chapters naturally, avoiding the jarring, unnatural feeling of 'digital silence' that can occur when audio is simply cut.
- Pro Tip: > Stay Still: When recording room tone, stay in your recording position and remain as still as possible. Even the sound of your breathing or clothes shifting can be part of the room's unique sonic profile.